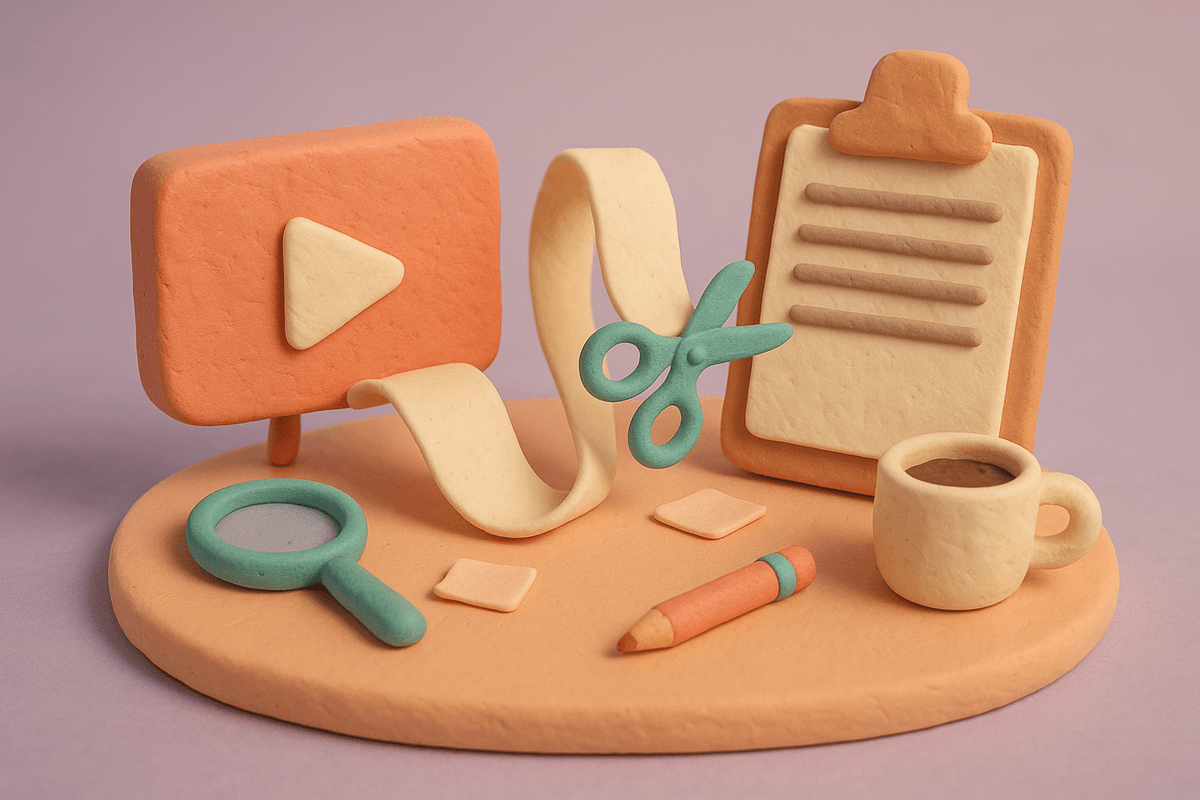
YouTube Transcript to Blog Post: A Creator's Step-by-Step Guide
You already have a blog post written. You just don't know it yet.
Every video you publish contains your expertise, your stories, and your way of explaining things. That transcript sitting inside YouTube is the raw material for a blog post that could be pulling in search traffic for months — long after the algorithm stops recommending the video.
But here's what most creators get wrong: they grab the transcript, paste it into ChatGPT, type "turn this into a blog post," and publish whatever comes back. The result reads like it was written by someone who watched the video on 2x speed with the sound off. No personality. No specific details. Just a bland summary that could have been written about any video on the same topic.
This guide walks you through how to actually do it properly — from pulling the transcript to publishing a post that sounds like you wrote it, because the bones of it came from you in the first place.
🎯 Why Bother Turning Videos Into Blog Posts?
If you're already making YouTube content, you're sitting on a goldmine of written content that you're just... leaving on the table.
There are a few reasons this matters more in 2026 than it used to.
YouTube is a search engine, but it's not the only one. Google still indexes written content faster and more thoroughly than video. A blog post targeting the same topic as your video gives you two shots at the same searcher — one on YouTube, one on Google. Plenty of creators have seen their video views increase after publishing a companion blog post, because the blog post ranks on Google and funnels readers to the embedded video.
There's also the audience you're missing entirely. Not everyone wants to watch a 15-minute video to get an answer. Some people are at work, on a train, or just prefer reading. A blog post catches those people.
And then there's the compounding effect. Videos have a shelf life tied to the algorithm. Blog posts, if they're optimised for search, can pull in steady traffic for years. A single well-written post can generate more long-term traffic than the video it came from.
📋 Step 1: Get Your Transcript
Before you can turn anything into a blog post, you need the raw transcript. There are a few ways to get it, and they're not all equal.
YouTube's built-in transcript is the easiest option. Open your video, click the three dots below the player, and select "Show transcript." You can copy the text directly from there. The catch is that auto-generated captions aren't always accurate — names, technical terms, and anything mumbled will be wrong. If you uploaded your own subtitles, those will be much cleaner.
Free transcript tools like YouTubeToTranscript.com or Tactiq let you paste a video URL and get a downloadable transcript. These pull from the same caption data YouTube uses, so accuracy is identical, but the formatting is usually cleaner — no timestamps cluttering up the text.
AI transcription services like Whisper or Descript give you a higher-quality transcript with better punctuation and speaker identification, but they require you to upload the video or audio file. Worth it if accuracy matters (and it does — garbage in, garbage out).
Whichever method you use, the goal is a clean text file of everything you said in the video. Don't worry about timestamps, speaker labels, or formatting yet. Just get the words.
✂️ Step 2: Clean the Transcript (Don't Skip This)
A raw transcript is not a blog post. It's not even close. People talk differently than they write, and if you hand an unedited transcript to an AI tool, the output will inherit all the problems of spoken language.
Here's what you're looking for when you clean a transcript:
Remove filler and repetition. "So basically what I'm trying to say here is, um, like..." — that's normal speech, but it's terrible in writing. Strip out the ums, the repeated phrases, the false starts.
Fix factual errors in the transcription. Auto-captions are notorious for mangling proper nouns. If you mentioned "Ahrefs" and the transcript says "a refs," fix it now. Same for product names, people's names, and technical terms.
Identify the real structure. When you recorded the video, you probably had a rough structure in mind — maybe even chapters. Mark where the topic shifts happen in the transcript. These become your blog post sections.
Flag the good stuff. While you're reading through, highlight the parts that are genuinely insightful — the specific examples, the personal stories, the counterintuitive takes. These are the parts that make your blog post worth reading instead of generic.
This step takes 15-20 minutes for a typical 10-15 minute video. It's tempting to skip it. Don't. The quality of your blog post is directly proportional to the quality of the transcript you feed into the next step.
🏗️ Step 3: Plan the Post Structure
A video and a blog post are different formats with different strengths. A straight transcript-to-text conversion ignores this completely.
In a video, you might tell a story for three minutes to set up a point that takes 30 seconds to make. That works on camera because people are watching your face and hearing your voice. In a blog post, a reader will bail after the second paragraph if they haven't hit the point yet.
So before you start writing (or prompting), decide on a structure:
Lead with the value. What's the one thing someone searching for this topic actually wants to know? Put that near the top. The story that sets it up in the video? It might work better as a supporting example further down.
Group related points. In a video, you might circle back to a topic multiple times. In a blog post, gather all the related points into one section with a clear heading.
Cut what doesn't work in text. "As you can see on screen right now..." doesn't make sense in a blog post. Visual demonstrations, screen shares, and real-time reactions need to be translated into descriptions, screenshots, or just cut entirely.
Add what the video lacked. Blog posts can include things videos can't — links to resources, comparison tables, code snippets, embedded tools. Think about what would make the written version more useful than the video, not just a replica of it.
Write out your section headings before you write a single paragraph. This is your blueprint.
✍️ Step 4: Write the Post (The Part Everyone Gets Wrong)
This is where most creators either spend four hours writing from scratch (defeating the purpose) or paste the transcript into an AI and accept whatever comes back (defeating the quality).
The sweet spot is using the transcript as the foundation while reshaping it into something that works as written content.
If you're writing it yourself: Use the cleaned transcript as your reference, not your draft. Read a section of the transcript, then write that section of the blog post in your own words without looking at the transcript. This naturally converts spoken language into written language while preserving your ideas and voice.
If you're using AI to help: This is where the prompt matters enormously. "Turn this transcript into a blog post" is a terrible prompt. It gives the AI no guidance on what to keep, what to cut, or what your voice sounds like.
A better approach:
- Give the AI your cleaned transcript section by section, not all at once
- Tell it what the blog post is about and who it's for
- Specifically instruct it to preserve your examples, stories, and specific details — not summarise them into generic statements
- Provide a sample of your existing writing so it can match your tone
- Review each section before moving to the next
The biggest failure mode with AI-assisted transcript conversion is losing the specific details that make your content valuable. If your video included a story about a specific client situation, a specific metric, or a specific mistake you made — that's exactly what the blog post needs to keep. Generic AI summaries strip all of that out and replace it with vague platitudes. That's the opposite of what you want.
🔍 Step 5: Optimise for Search
Your video was probably optimised for YouTube's algorithm. Your blog post needs to be optimised for Google's.
Target a keyword. What would someone type into Google to find this information? That's your primary keyword. Use it in your title, your first paragraph, and a couple of your section headings — but naturally, not stuffed in awkwardly.
Write a proper meta description. 150-160 characters that tell the searcher exactly what they'll get from clicking. Don't leave this to your CMS to auto-generate.
Add internal links. Link to your other blog posts where relevant. If you don't have other posts yet, that's fine — come back and add links as your blog grows. Internal linking is one of the most underrated SEO tactics for small sites.
Embed the original video. This keeps people on your page longer (good for SEO) and drives views back to your YouTube channel (good for growth). Put it near the top of the post or within the most relevant section.
Use descriptive headings. "Step 3" tells Google nothing. "How to Structure Your Blog Post From a Transcript" tells Google exactly what that section covers.
🖼️ Step 6: Add Visuals
A wall of text doesn't get read, no matter how good the writing is. Your blog post needs visual breaks.
Screenshots from the video work well for tutorial or how-to content. Pick 3-5 frames that illustrate key points. This also reinforces the connection between the blog post and the video.
Custom graphics or diagrams are worth the effort for process-oriented content. A simple flowchart showing "transcript → cleaned transcript → structured outline → blog post" communicates the workflow faster than three paragraphs explaining it.
A header image gives the post a professional look and performs better when shared on social media. It doesn't need to be fancy — a clean, on-brand graphic with the post title works fine.
Don't use generic stock photos of people pointing at laptops. They add nothing and make your post look like every other AI-generated article on the internet.
🚀 Step 7: Publish and Cross-Promote
The post is written, optimised, and formatted. Now make it work.
Publish on your own site. If you don't have a blog yet, set one up. WordPress, Ghost, Webflow — the platform matters less than having a home for your content that you control. Don't rely on Medium or LinkedIn as your primary blog; you're building on rented land.
Link from your video description. Add the blog post URL to the YouTube video description with a line like "Read the full guide: [link]." This drives traffic both ways.
Share on the platforms where your audience hangs out. For most YouTube creators, that's Reddit, Twitter/X, or niche communities. Don't just drop a link — share a genuine insight from the post and let people decide if they want to read more.
Update the post over time. If the topic evolves or you learn something new, update the post. Google rewards freshness, and a well-maintained post compounds in value.
⚡ How to Speed Up the Whole Process
If you're doing this manually for every video, it's going to eat into your content creation time. There are a few ways to make it faster without sacrificing quality.
Batch the work. Record 4 videos in a month, then convert all 4 transcripts into blog posts in a single session. You'll find a rhythm and move faster.
Build a template. If your videos follow a consistent format (tutorials, reviews, interviews), create a blog post template with pre-built sections. Plug in the content from each transcript rather than structuring from scratch every time.
Use a purpose-built tool. Generic AI writers treat every transcript the same way. Tools specifically designed for video-to-blog conversion — like Content2Blog — are built to handle the nuances of transcript conversion: preserving your voice, extracting real insights instead of generic summaries, and structuring the output for SEO. The difference between a generic AI rewrite and a purpose-built conversion is the difference between a rough draft you'd never publish and a post you'd only need to tweak.
Create while the video is fresh. The best time to convert a transcript is right after you've filmed the video, when the content is still top of mind. You'll catch transcript errors faster and make better structural decisions.
🎯 The Bottom Line
Every video you've already published is an unwritten blog post. The transcript is the starting point, not the end product. The creators who are growing the fastest in 2026 aren't choosing between video and written content — they're doing both, because they've figured out that the second format is 80% done the moment they stop recording.
The process is straightforward: get the transcript, clean it, restructure it for a reader instead of a viewer, write it properly, optimise it for search, and publish it. The whole thing takes 45 minutes to an hour once you've done it a few times — a fraction of the time it took to make the video in the first place.
Your videos deserve more than one life. Give them one.